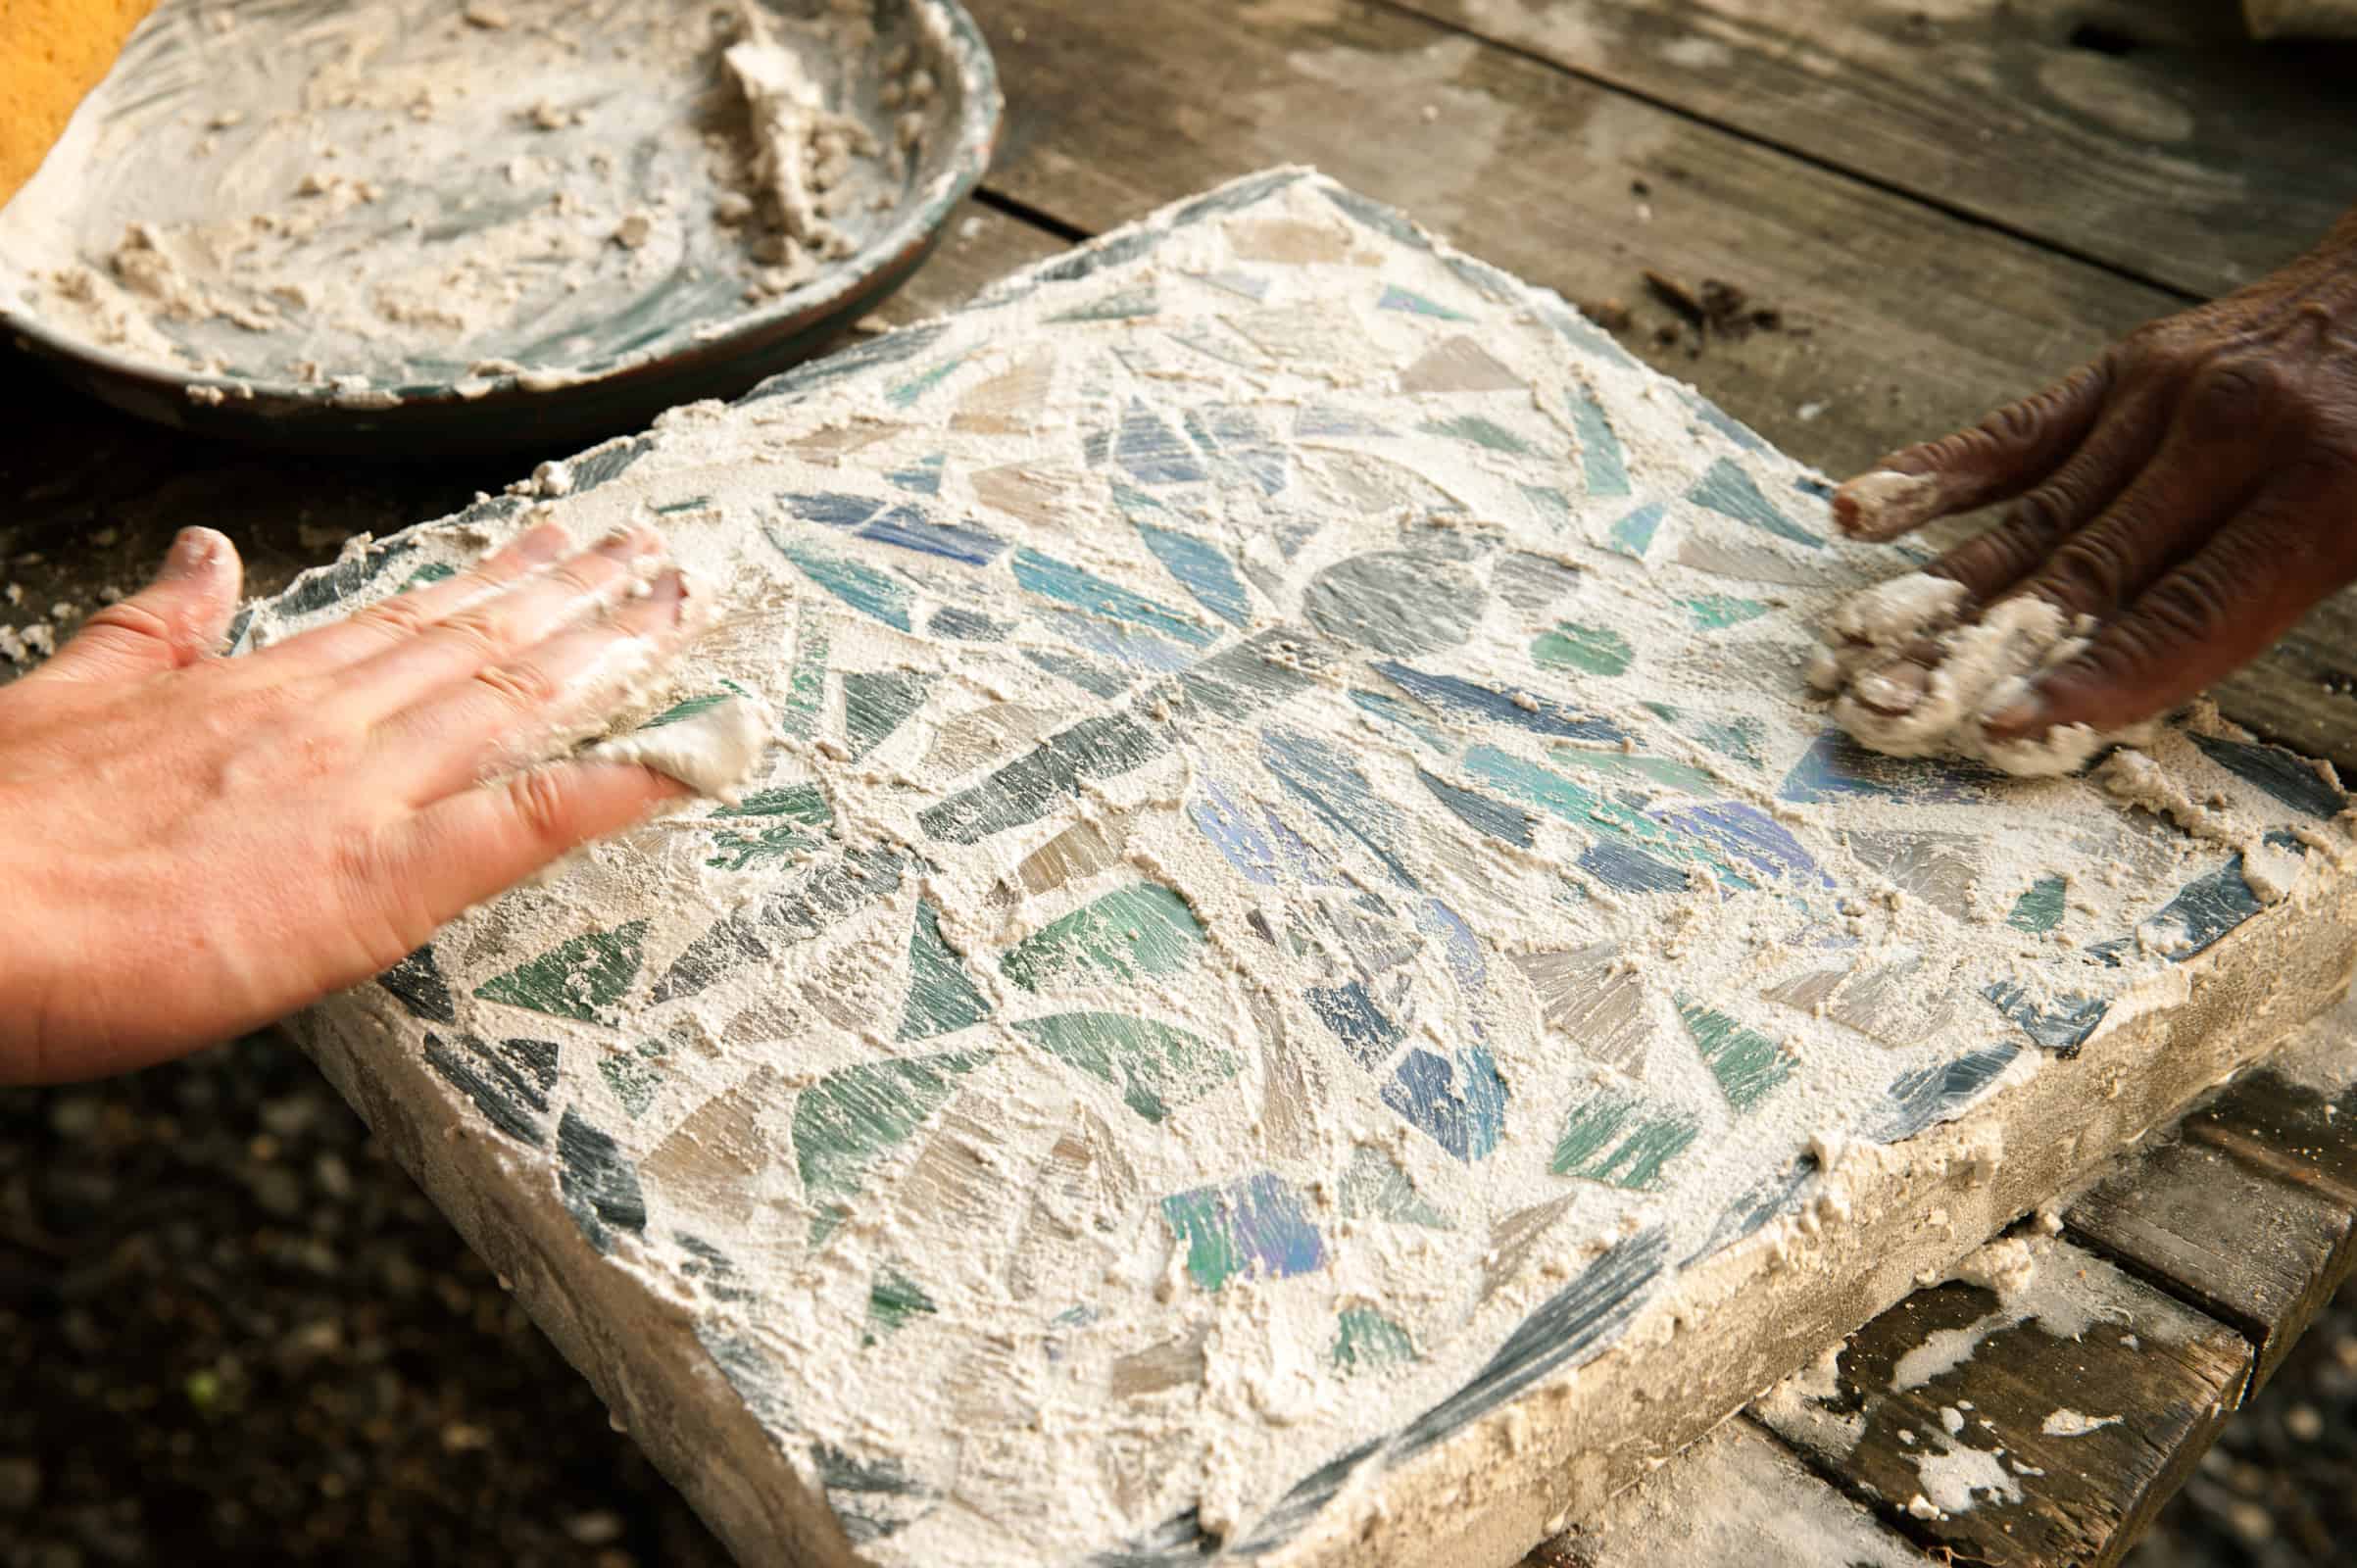
At Calgo Gardens, we enjoy recycling and repurposing items and creating something new with them. For this project we will use broken glass to create stepping stones for your garden. Stepping stones are a creative and fun way to add color and personality to your space.
We used glass salvaged from some damaged merchandise. The glass was too beautiful to just throw away. But this project is also perfect for any treasured china that broke or is chipped that you couldn’t bear to discard. You can expand your creativity and use other items like pebbles or small shells, too.
- Gather your glass pieces and separate by colors.
- Use a glass cutter to break large or rounded pieces. (Be sure to wear protective gloves and protective eye wear)! You can also wrap the piece in an old towel and use a hammer to break the piece down.
- Lay your design out on the concrete paver.
- Use an adhesive designed for outdoor use with concrete to set the pieces into place.
- Let dry according to the recommended time.
- Mix a fast setting grout (following package directions) in a disposable container.
- Scoop a large amount of grout and then spread with a small trowel or spatula.
- Fill in all of the gaps and remove the excess as you go. Wipe the edges clean or cover completely with grout.
- Use a wet sponge to remove excess grout taking care not to remove too much from the recessed areas. Rinse your sponge often and be sure to wipe in all directions. Neaten the edges if necessary.
- Let dry for 24 – 48 hours. Buff if needed.
- Place in your garden to enjoy!
If you have an artistic group of friends, we can guide you in your own custom designed workshop – a fun and productive way to connect with your friends. Be sure to watch for our own planned workshops on our workshops/events page.
And don’t forget to mark our annual Art in the Garden on your calendar—September 22, 10:00 to 4:00! Over 50 regional artists and live music too!

